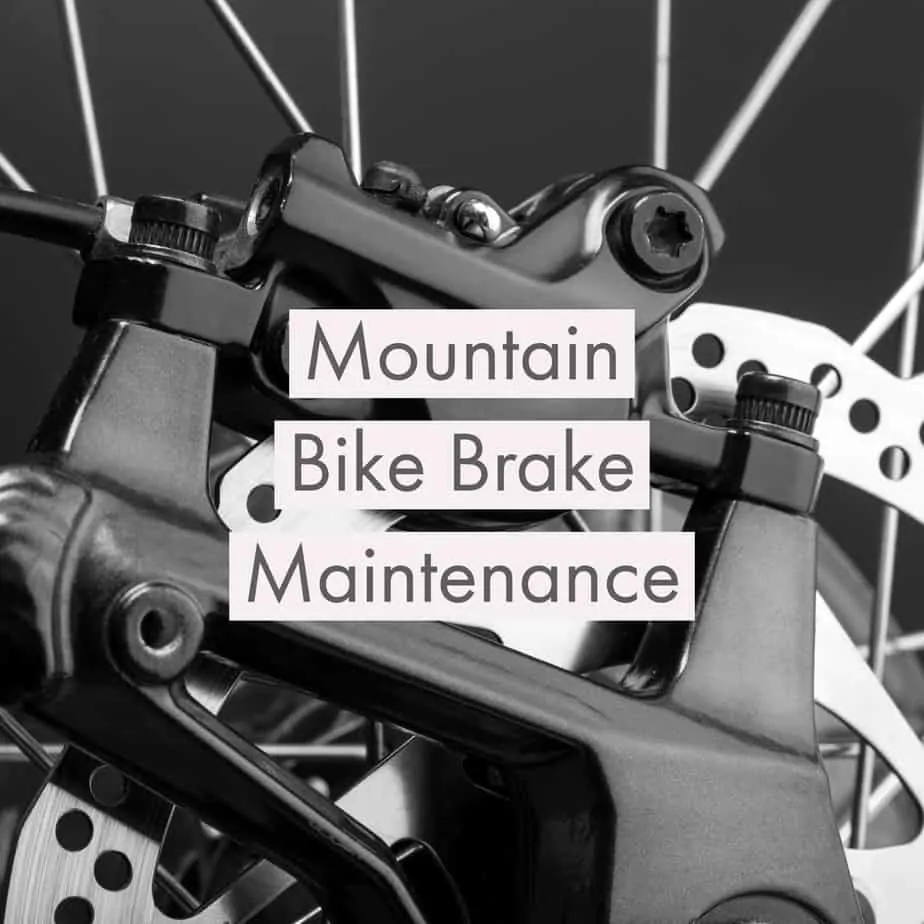
Mountain bikes are mechanical, and they need some love too. They get used, abused, and thrown into the dirt very regularly. Although you may clean them pretty often, you will still have to keep up some maintenance to keep it in top condition. In this article, we are going to look specifically at mountain bike brake maintenance.
If you have spent a lot of money on your bike, like a lot of people do, the last thing that you want to happen is for it to break catastrophically. Of course, there are times that this is unavoidable. Like throwing it off a significant drop onto a rock and cracking the frame. But how would you feel when you have to replace your cassette or forks to find out that a little bit of maintenance would have stopped you from having to do replace them?
I would feel terrible. Oil, grease, and time are almost everything that you need to spend money on, providing you have tools to keep your mountain bike top notch.
Table of Contents
Mountain Bike Brake Maintenance
There are a few aspects of a mountain bike that require maintenance at different times. In this article, we will look at the most common types of brakes that you will see on a mountain bike that you need to learn how to maintain. Don’t feel intimidated by maintenance, even if it is something that you have never done before. Learning to do it yourself will save you time and money while giving you a brilliant sense of achievement. Just imagine, next time you hit the trails, and your bike brakes feel as good as they did the day that you bought it, knowing that you made it feel like that.
General Mountain Bike Maintenance
First of all, we are going to look at the essential points of a mountain bike that you need to look after. First of all, though, you need somewhere to do it, and some things to do it with.
Work Area
Find somewhere that you can work on your bike. That could be in your yard, shed, or somewhere in your house. However, I prefer to work on my mountain bike away from home, as you tend to get fumes and splatters of sprays and greases around the place. The last thing you want is a bill for cleaning the carpet after you are trying to save money on your bike! Here is a list of things that you may want to consider buying:
- Tools. – There are specialized tools that you will need if you are going to delve into the more advanced sections of mountain bike brake maintenance. However, start with a basic spanner and socket set. Even though I say basic, I do not mean cheap. When it comes to tools, always buy the best tools that you can afford. They will not let you down anywhere near as much as low-cost alternatives. The specialized tools are things that we will talk about when we get to those sections.
- Consumables. – Oils, greases, cleaning fluids, etc. The more that you have, the better equipped you will be. However, as with the tools, buy the best that you can afford. There is no point in spending a lot of time on your bike maintenance to put rubbish grease in the bearings and end up worse than you started.
- Bike Stand. – These are not a necessity, but they will undoubtedly help you.
After you have the things that you need, you will have to find the space that you are going to work on your bike. Make sure that it is well ventilated and well lit. If you have somewhere with a roof, that is going to be even better.
Mountain Bike Brake Maintenance – Brake Adjustment
Of course, working brakes are critical for any mountain bike and its rider. Getting the best performance out of them is not as hard to do as you may think. In this section, we will look at the most common systems for mountain bike brakes, and how to maintain and adjust them.
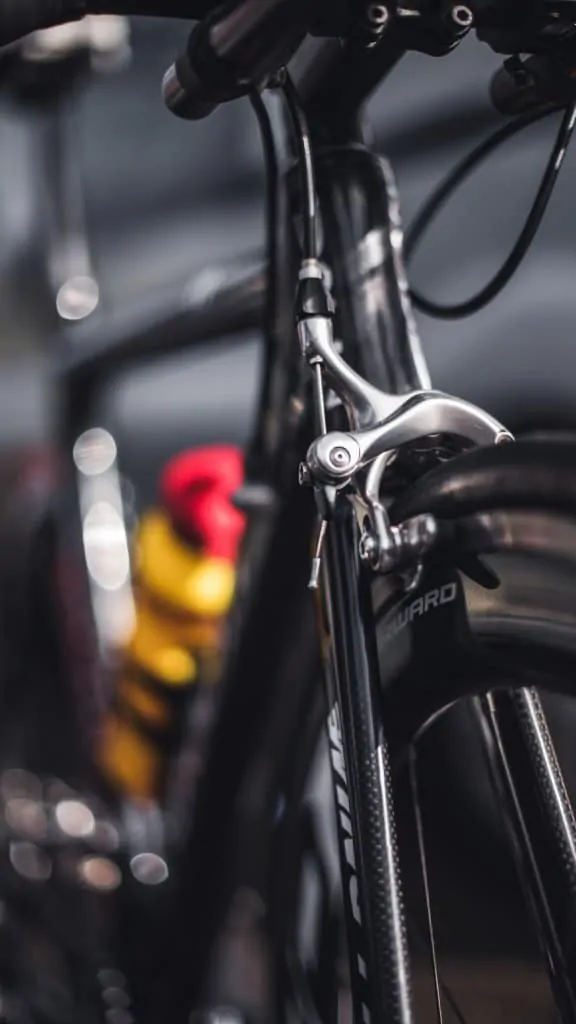
Rim V-Brakes
Rim brakes work by friction created between the brake pads and the side of the wheel rim. Like everything, they have their pros and cons. However, it is not our goal to talk about differences in this article. If you have rim brakes, then you need to know how to adjust them.
- Screw-in all cable adjusters fully. – All of the cable adjusters are likely to be where the cable enters a framework or components like brake levers. Screw them all in as far as they will go that will release all of the tension from the wire.
- Release the straddle wire.
- Release the cable from the cable bridge. – You may have to undo the cable clamp, but the goal is to make the arms hang free.
- Loosen the brake pad screw. – Unscrew the bolt holding the brake pad to the arm. Do not remove it; just make it loose so that you can move it.
- Line up the brake pad. – Ensure that the brake pad is lined up perfectly with the rim of the wheel. Do not allow the pad to make contact with the tire as that will cause undue friction and wear on the tire, and possibly cause a blowout. In an ideal case, you should leave about 1/16th of an inch between the tire and pad. The easiest way to do this is to lightly push the arm up so that the pad touches the rim. Then you can move the pad.
- Tighten the brake pad screw. – While you have the arm pushed up gently, and after adjusting the pad, push the arm up more firmly to hold the pad in place while you tighten the screw.
- Adjust the other side pad. – After completing one side, complete steps 4, 5 & 6 on the other side.
- Reconnect cable. – Whatever method your brake arms have for holding the wire, put them back together. Pull enough wire through the clamp to ensure that the pads are nearly touching the rim, but not quite.
- Spin the wheel. – Spin the wheel to make sure that there is no fouling.
- Fine adjustment. – Use the cable adjusters for fine-tuning until you have the proper stopping power.
- Ensure everything is tight, and test ride in a safe area.
While you have the brake pads loose on the arms, you should check them for excessive wear, damage, and foreign objects. Replace them now if it is necessary. You should regularly review your rim brakes as part of your mountain bike brake maintenance routine.
Caliper Rim Brakes
Caliper rim brakes work on the same principles as V-brakes. However, they are a slightly different, often more powerful design. Do not shy away from these brakes just because they are different from V-brakes in your mountain bike brake maintenance.
- Release the cable. – Release the quick release on the side of the caliper and undo the cable clamp.
- Loosen the brake pad screw. – Unscrew the bolt holding the brake pad to the arm. Do not remove it; just make it loose so that you can move it.
- Line up the brake pad. – Ensure that the brake pad is lined up perfectly with the rim of the wheel. Do not allow the pad to make contact with the tire as that will cause undue friction and wear on the tire, and possibly cause a blowout. In an ideal case, you should leave about 1/16th of an inch between the tire and pad. The easiest way that you can do this is to lightly push the arm up so that the pad touches the rim and move the pad.
- Tighten the brake pad screw. – While you have the arm pushed up gently, and after adjusting the pad, push the arm up more firmly to hold the pad in place while you tighten the screw.
- Adjust the other side pad. – After completing one side, complete steps 2, 3 & 4 on the other side.
- Check and adjust the gap. – There is a gap between the arm and the wheel. You need to make sure that they are the same. It doesn’t have to be as accurate as using feeler gauges, but it should at least look the same.
- If there is a large gap, then you need to loosen the caliper fixing bolt, adjust, and retighten.
- If there is only a small difference, then there is usually an adjuster screw on one of the brake arms. Using a small Allen key will change the position of the whole caliper to get the gap equal.
- Check brake pads. – If you have adjusted the position of the caliper arms, then you need to re-check the location of the brake pads against the rim.
- Reconnect cable. – Whatever method your brake arms have for holding the wire, put them back together. Pull enough cable through the clamp to ensure that the pads are nearly touching the rim, but not quite.
- Spin the wheel. – Spin the wheel to make sure that there is no fouling.
- Fine adjustment. – Use the cable adjusters for fine-tuning until you have the right stopping power.
- Ensure everything is tight, and test ride in a safe area.
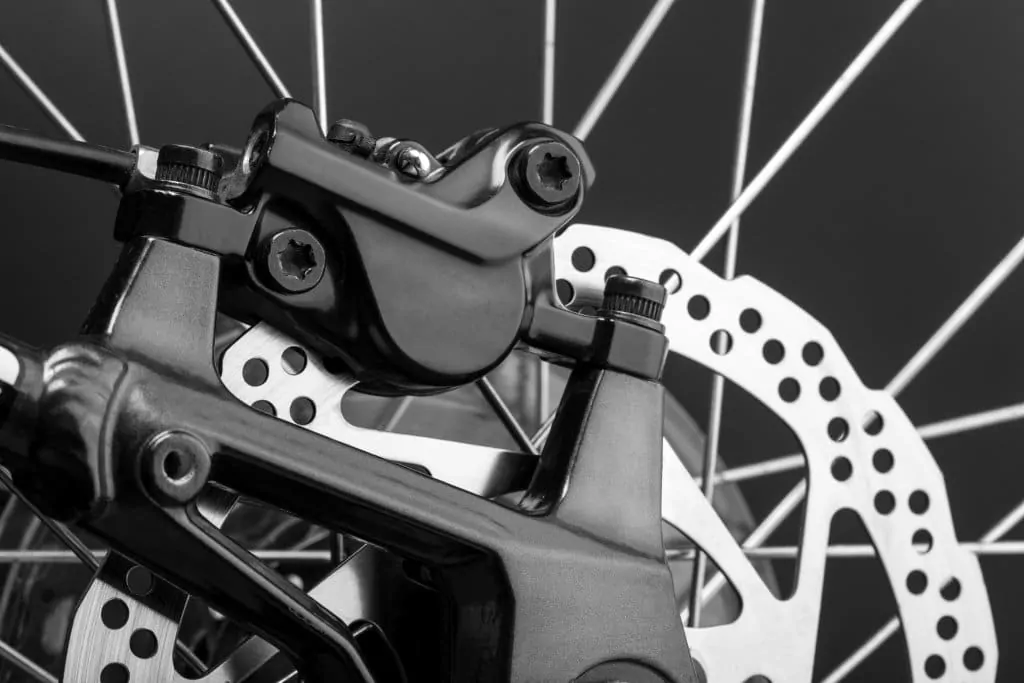
Disk Brakes
Disk brakes are much more common these days than the other types in this article. Therefore, you are more likely to come across these unless you are carrying out mountain bike brake maintenance on a lower end or child’s bike.
The adjustments on them depends on which method you have for operating the brakes: Cable, or hydraulic.
Cable Disk Brakes
- Loosen the caliper mounting bolts.
- Release cable. – Either using the cable clamp or adjusters, make sure the wire is slack.
- Wind out brake pads. – There are often adjustment bolts for the brake pads – one on each side of the caliper. Unscrew both of them entirely, starting with the inner, static pad.
- Align the caliper. – Ensure that the rotor (disk) is in the center of the caliper for maximum contact surface. Tighten up the bolts so that they hold the caliper. Do not tighten them fully yet.
- Adjust the static pad. – Place a couple of pieces of card between the static pad and the rotor. (I usually use two pieces of cereal box card or a basic greetings card for this.) Adjust the static pad until it just holds the card there without you having to hold the card.
- Take up some cable slack. – Turn the cable adjuster about one to one and a half full turns out. You may need the back adjustment a little later on.
- Adjust the moving pad. – This bit can be a little fiddly, but I have a great trick for you. You need to place the same two bits of card between the moving pad and the rotor in the same way you did with the static pad. However, you now need to operate the caliper by hand to hold the card in place.
- While holding the caliper, pull the cable tight and tighten the clamp. As you can see, this may need three hands. However, that is where my trick may come in handy. I have not used it on every style of caliper, so you have to see if it works for you. But, put a cable tie around the caliper to hold it in place while you adjust the cable if you have no one to help you. Alternatively, you could use some mole grips with cardboard between them and the caliper to hold it (not too tight, though).
- Spin the wheel. – Spin the wheel to make sure that there is no fouling.
- Fine adjustment. – Use the cable adjusters for fine-tuning until you have the right stopping power.
- Ensure everything is tight, and test ride in a safe area.
Hydraulic Disk Brakes
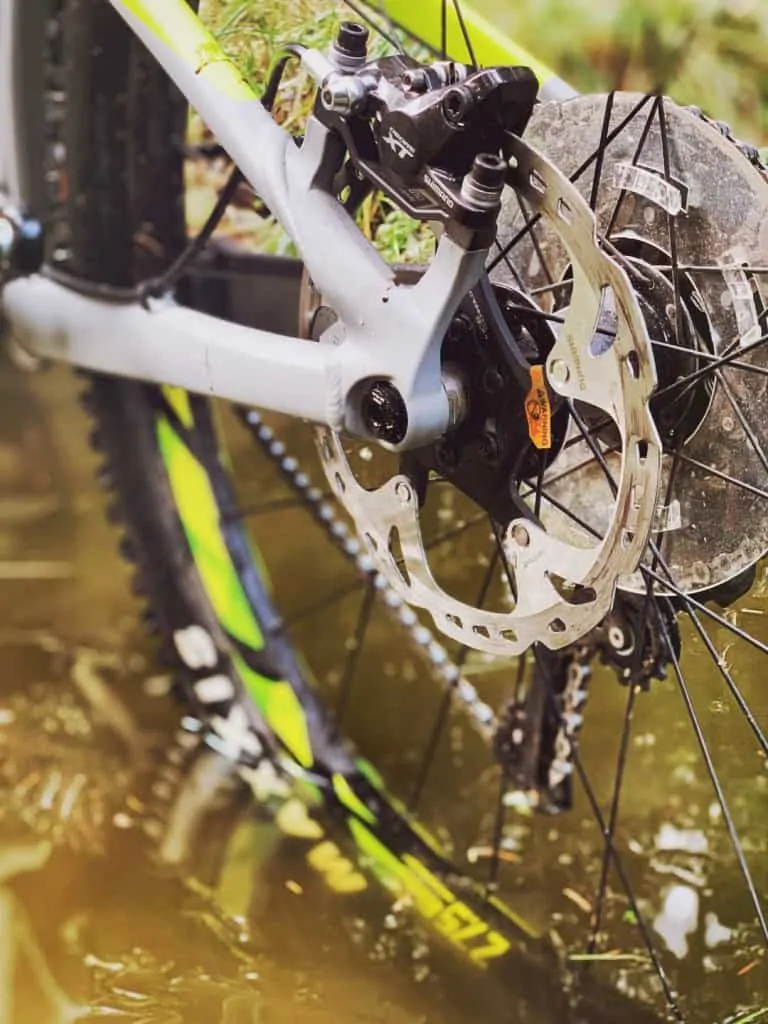
Disk brakes require a lot less maintenance than the other types. That is because the hydraulic oil acts as an un-stretchable, friction-free cable. However, there are still some times that they require adjustment in your mountain bike brake maintenance routine. The most common times that you need to adjust them is if you have fitted new pads, you hear them binding, or if you have had a crash.
- Center and tighten the wheel in the forks. – Ensure that the wheel is entirely in the center of the fork frame and tight.
- Loosen caliper mounting bolts. – You will only need to loosen them enough to enable you to get your finger in to open the caliper by pushing the piston.
- Spin the wheel. – After opening the caliper, spin the wheel. Gently pull the brake lever until the pads make slight contact with the rotor. Complete this until there is no rubbing. Doing that will align the caliper directly central to the disk.
- Tighten caliper bolts. – When you are happy that there is no fouling, tighten the bolts.
- Ensure everything is tight, and test ride in a safe area.
Conclusion
Mountain bike brake maintenance is a hugely important task. If you don’t get it right then you are going to hurt yourself, and badly. However, hopefully, in this article, we have given you everything you need to do it yourself. Except for the tools! This article is the first installment in our mountain bike maintenance series, so make sure that you get your tools out and keep your eye out.
One warning, although I have mentioned this in each of the sections, please remember to make sure that all the bolts, etc. are tight, and your brakes work well before taking the bike on trails or anywhere else that you need them!


